Some roof work you can handle yourself. Some will put you in the ER or void your warranty. Here's an honest breakdown of what's safe to DIY and where to draw the line.
We're not going to tell you that every roof problem needs a contractor. That would be dishonest. Some stuff you can absolutely handle on your own. But there's a line, and crossing it gets people hurt or costs them more money than they saved. Here's the honest version: what's fair game, what's not, and why.
#What you can safely do yourself
Ground-level tasks that are genuinely DIY-friendly
Clear debris from gutters, if you can reach them from a ladder without stepping onto the roof, go for it. Clean gutters prevent water backup and fascia rot. Apply moss killer from the ground, granular zinc sulfate products work well. Toss them onto the roof from below or spread them along the ridge if you can reach it from a ladder. Caulk a small crack on a low vent or pipe, a hairline crack in a dryer vent sealant is a quick fix that buys time. Visual inspection from the ground, binoculars work surprisingly well for spotting missing shingles, lifted flashing, and moss buildup.
#When to call a professional
Stop here. These are pro-only tasks.
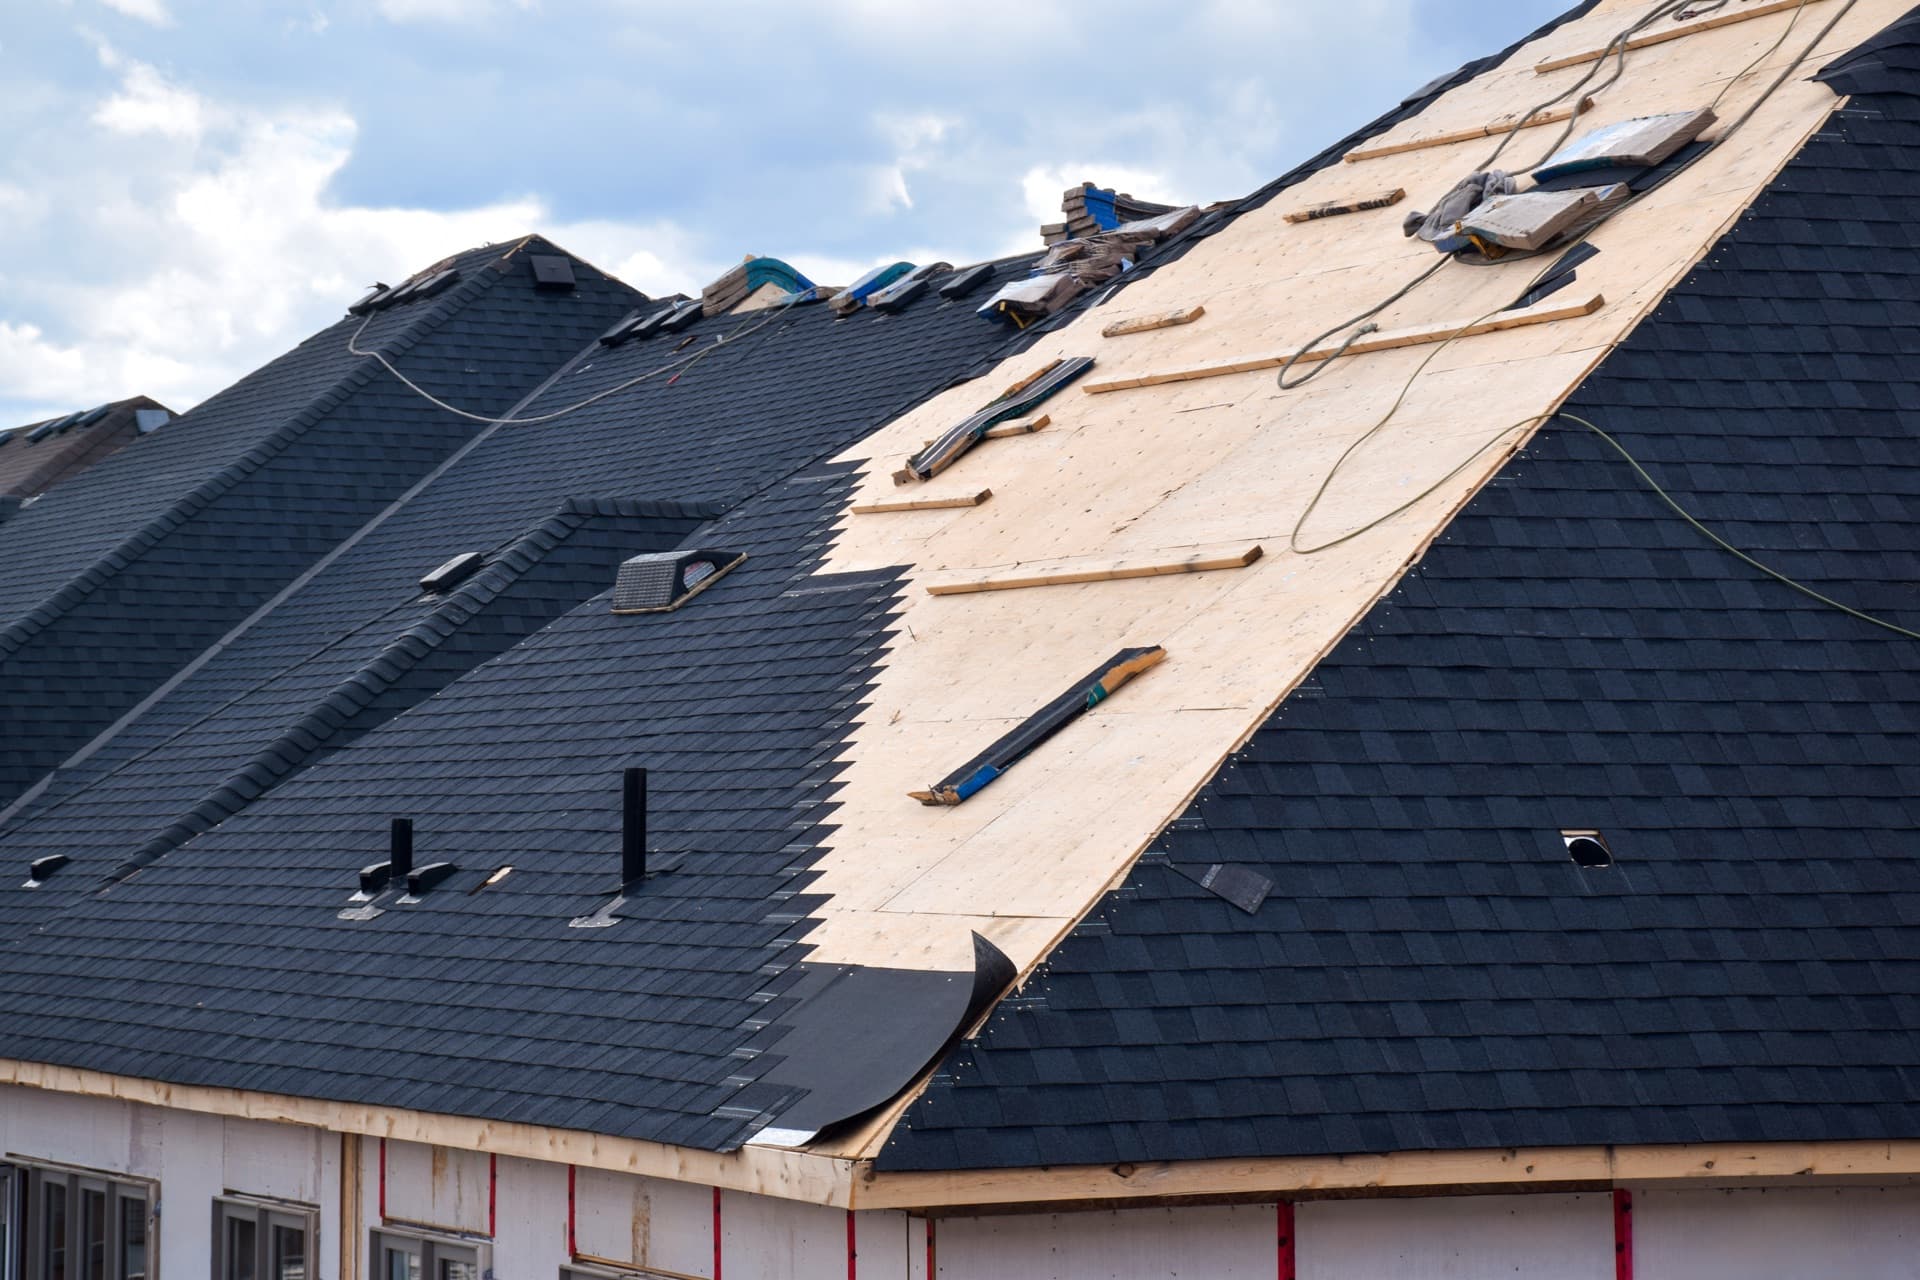
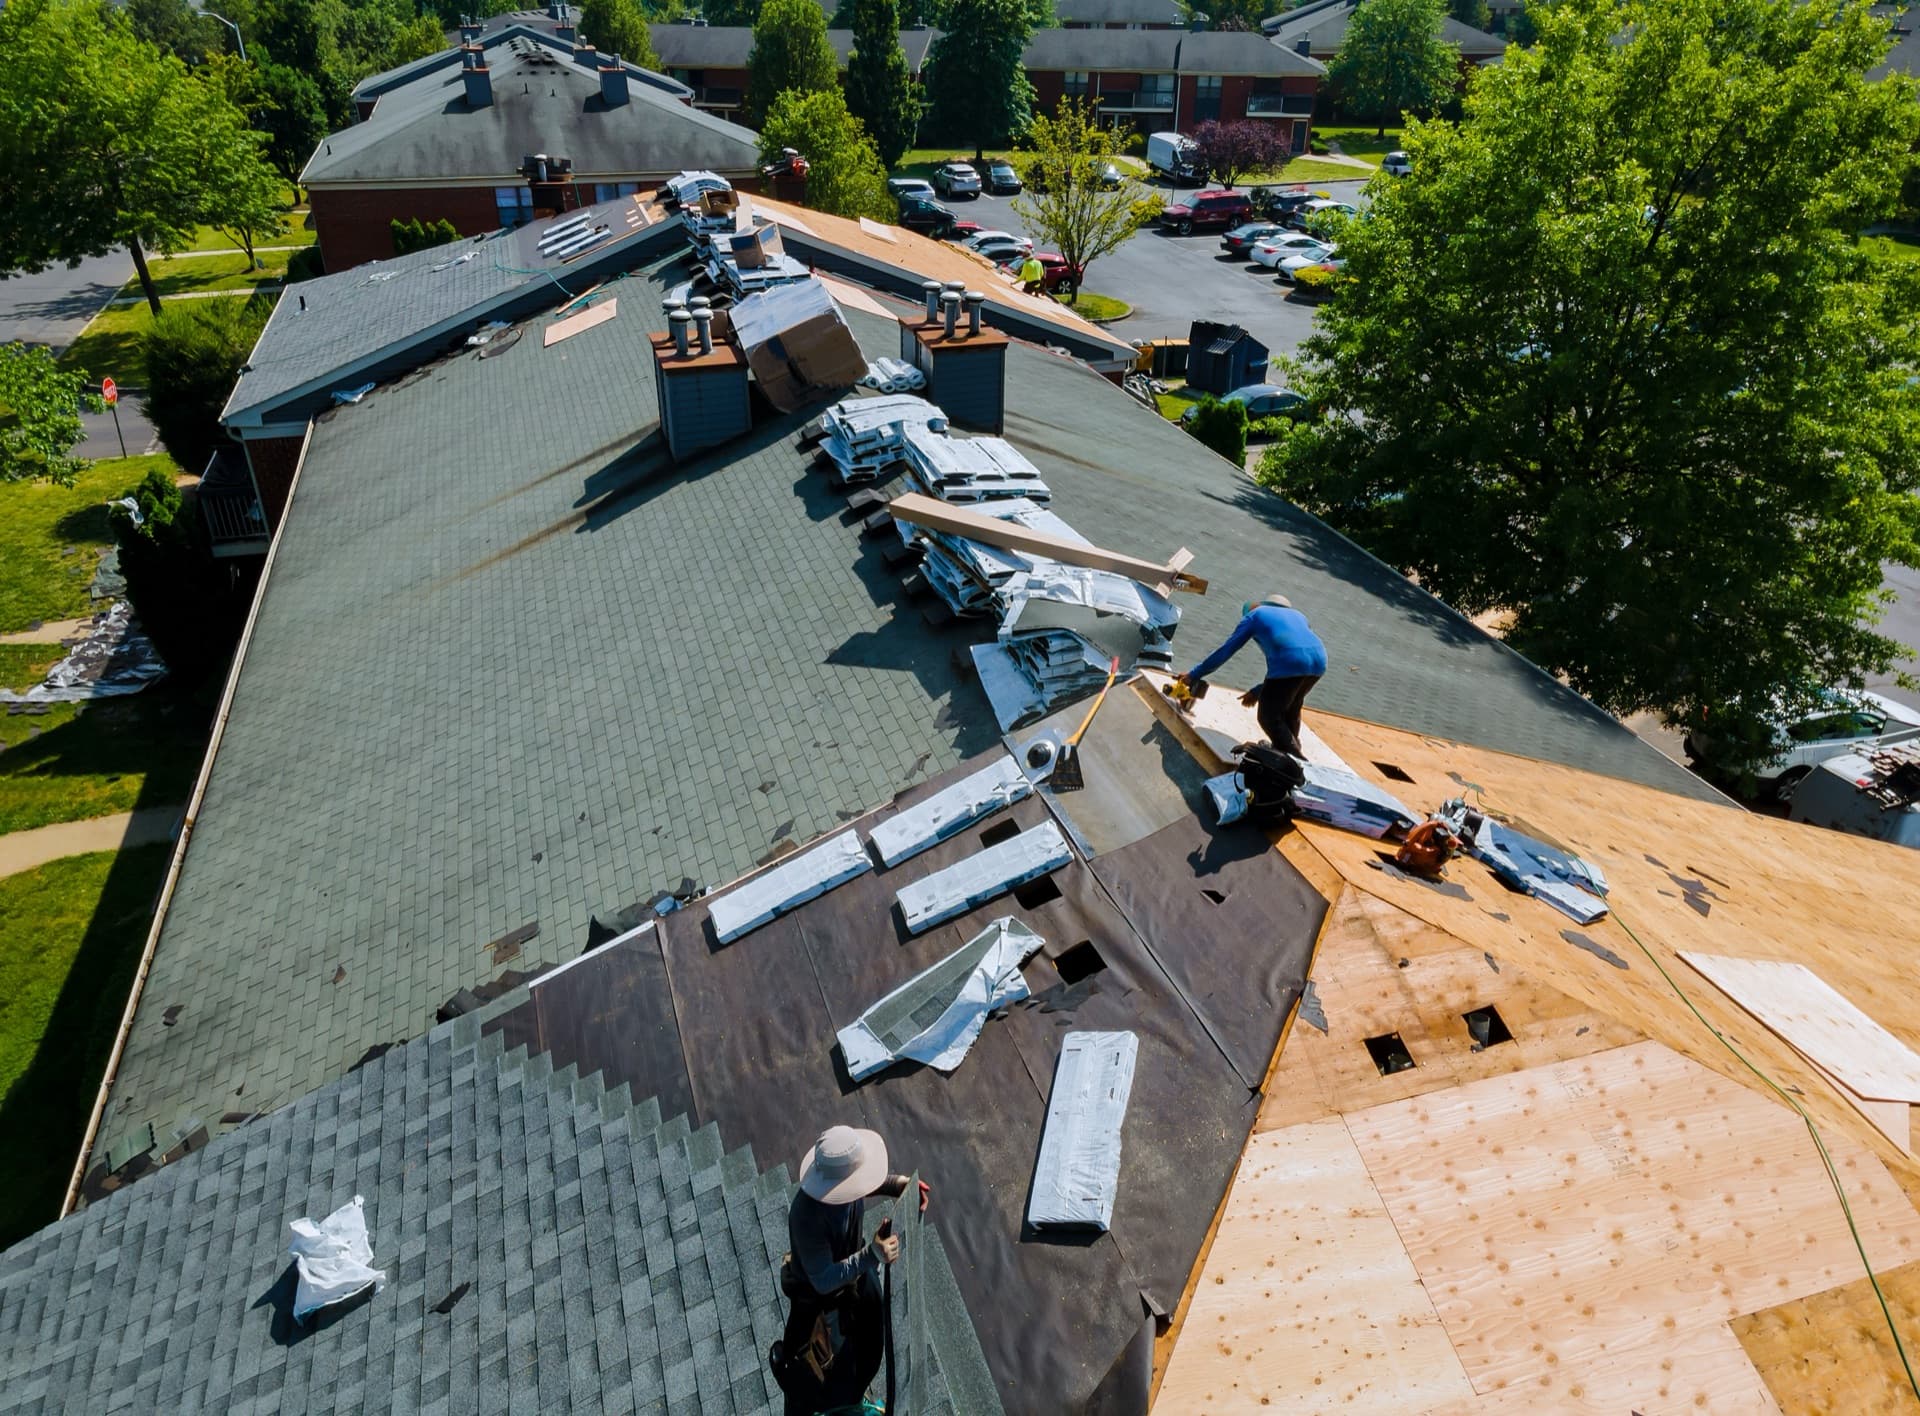
Anything that requires walking on the roof. Roofing is one of the most dangerous occupations in the country, and those are people who do it every day with proper gear. PNW roofs are wet and mossy eight months of the year, even surfaces that look dry often have a slick film of algae underneath. Flashing work. Step flashing, counter flashing, valley metal. Flashing done wrong doesn't just fail to fix the problem, it actively makes things worse by trapping water behind surfaces. Anything involving removing shingles. Once you pull shingles off, you're exposing the underlayment and deck to weather. Any active leak. Water travels along rafters before it drips, so the entry point is often feet away from the ceiling stain. Anything above single-story height. Two-story roof work means 20+ feet off the ground.
#The risks most people underestimate
Falls are the obvious one. But two others are worth knowing. Making it worse: We get calls every month from homeowners who tried to seal a leak themselves and ended up trapping water. They caulked over a gap that was actually a designed drainage path, or they tarred a spot that needed flashing replacement. What was a $400 repair becomes a $2,000 sheathing replacement. Voiding your warranty: Most shingle manufacturers require that installation and repair work be done by a licensed contractor. If you DIY a repair and the roof fails later, the manufacturer can deny the claim. One afternoon of DIY can erase thousands of dollars in warranty coverage.
#The PNW factor
Seattle's climate makes all of this trickier. Our roofs stay damp longer than almost anywhere else in the country. Moss makes surfaces slippery. Wood stays wet long enough to grow mold. And rain can roll in mid-project with zero warning. Professional crews plan around weather windows and carry tarps to protect open sections. A homeowner halfway through a shingle swap when the sky opens up is in real trouble.
The smart approach: do your own visual inspections, handle the ground-level maintenance yourself, then call someone for the actual fix. If you've spotted something that doesn't look right, a roof inspection is the cheapest way to get a straight answer. And if you've got an active leak or storm damage that can't wait, our emergency repair team handles same-day calls across the Seattle metro. Get in touch and we'll take it from there.
Written by
Everpeak Roofing
Licensed Seattle roofers, WA Contractor Lic. #EVERPRL743KE. We write from what we actually see on roofs across the Puget Sound.
Related roofing services
Got a roof question of your own?
Free inspections across Seattle and the Puget Sound. We take a look, show you photos, and give you a straight answer. No pressure.