Filing a roof insurance claim in WA is confusing if you've never done it. Here's the full process from first photo to final payout, with the WA-specific details most guides skip.
Most homeowners file maybe one roof insurance claim in their entire life. Insurance companies file thousands. That gap in experience is exactly how valid claims get underpaid or denied. Here's the step-by-step process we walk our clients through in Washington state, and the mistakes that cost people money every single year.
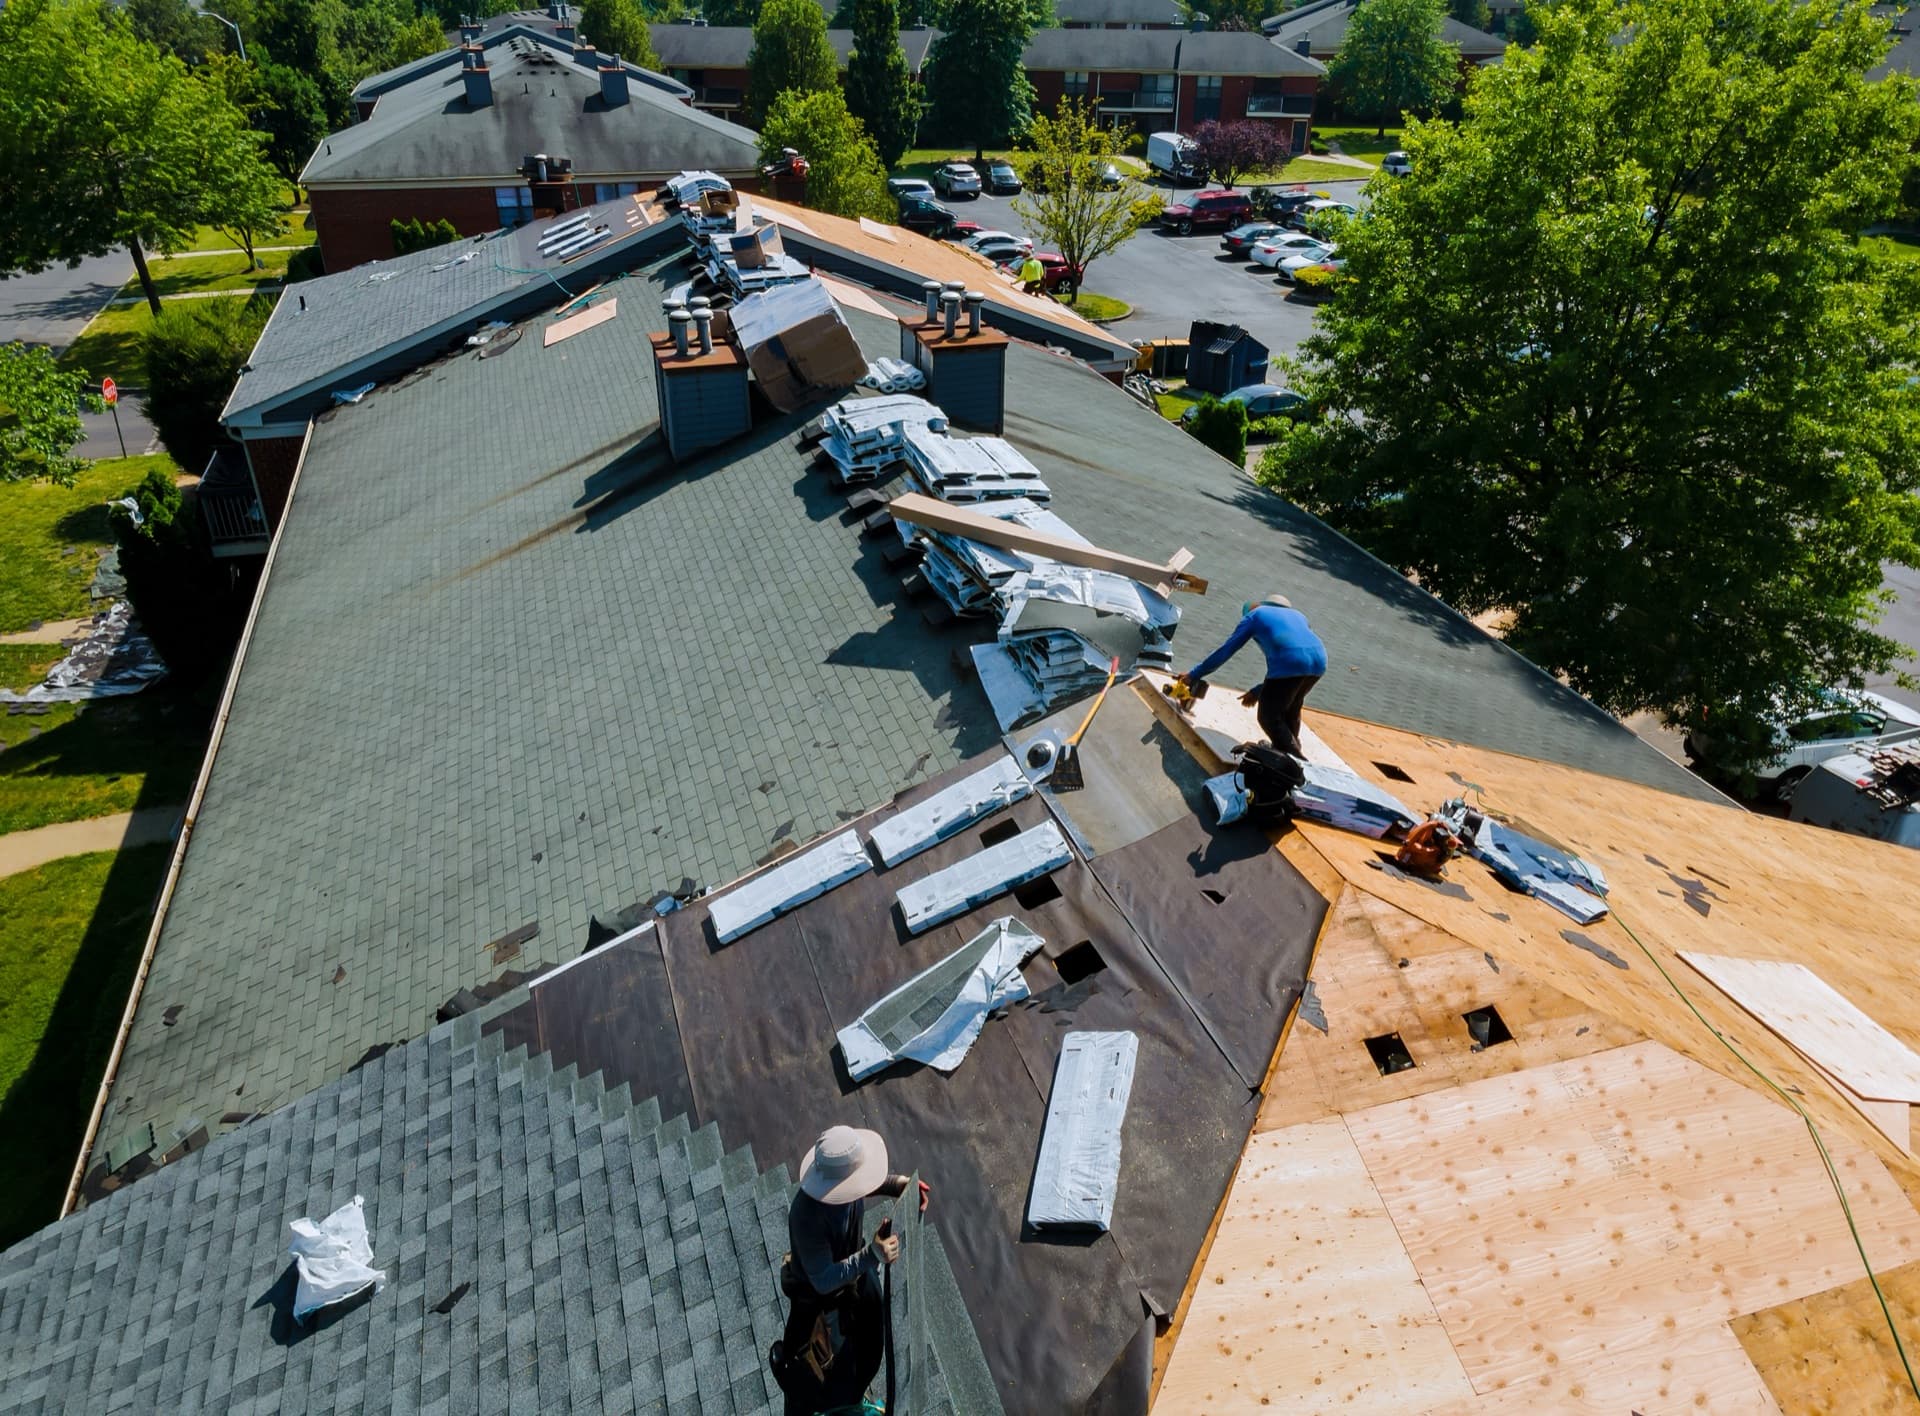
#Step 1: Document everything before you touch anything
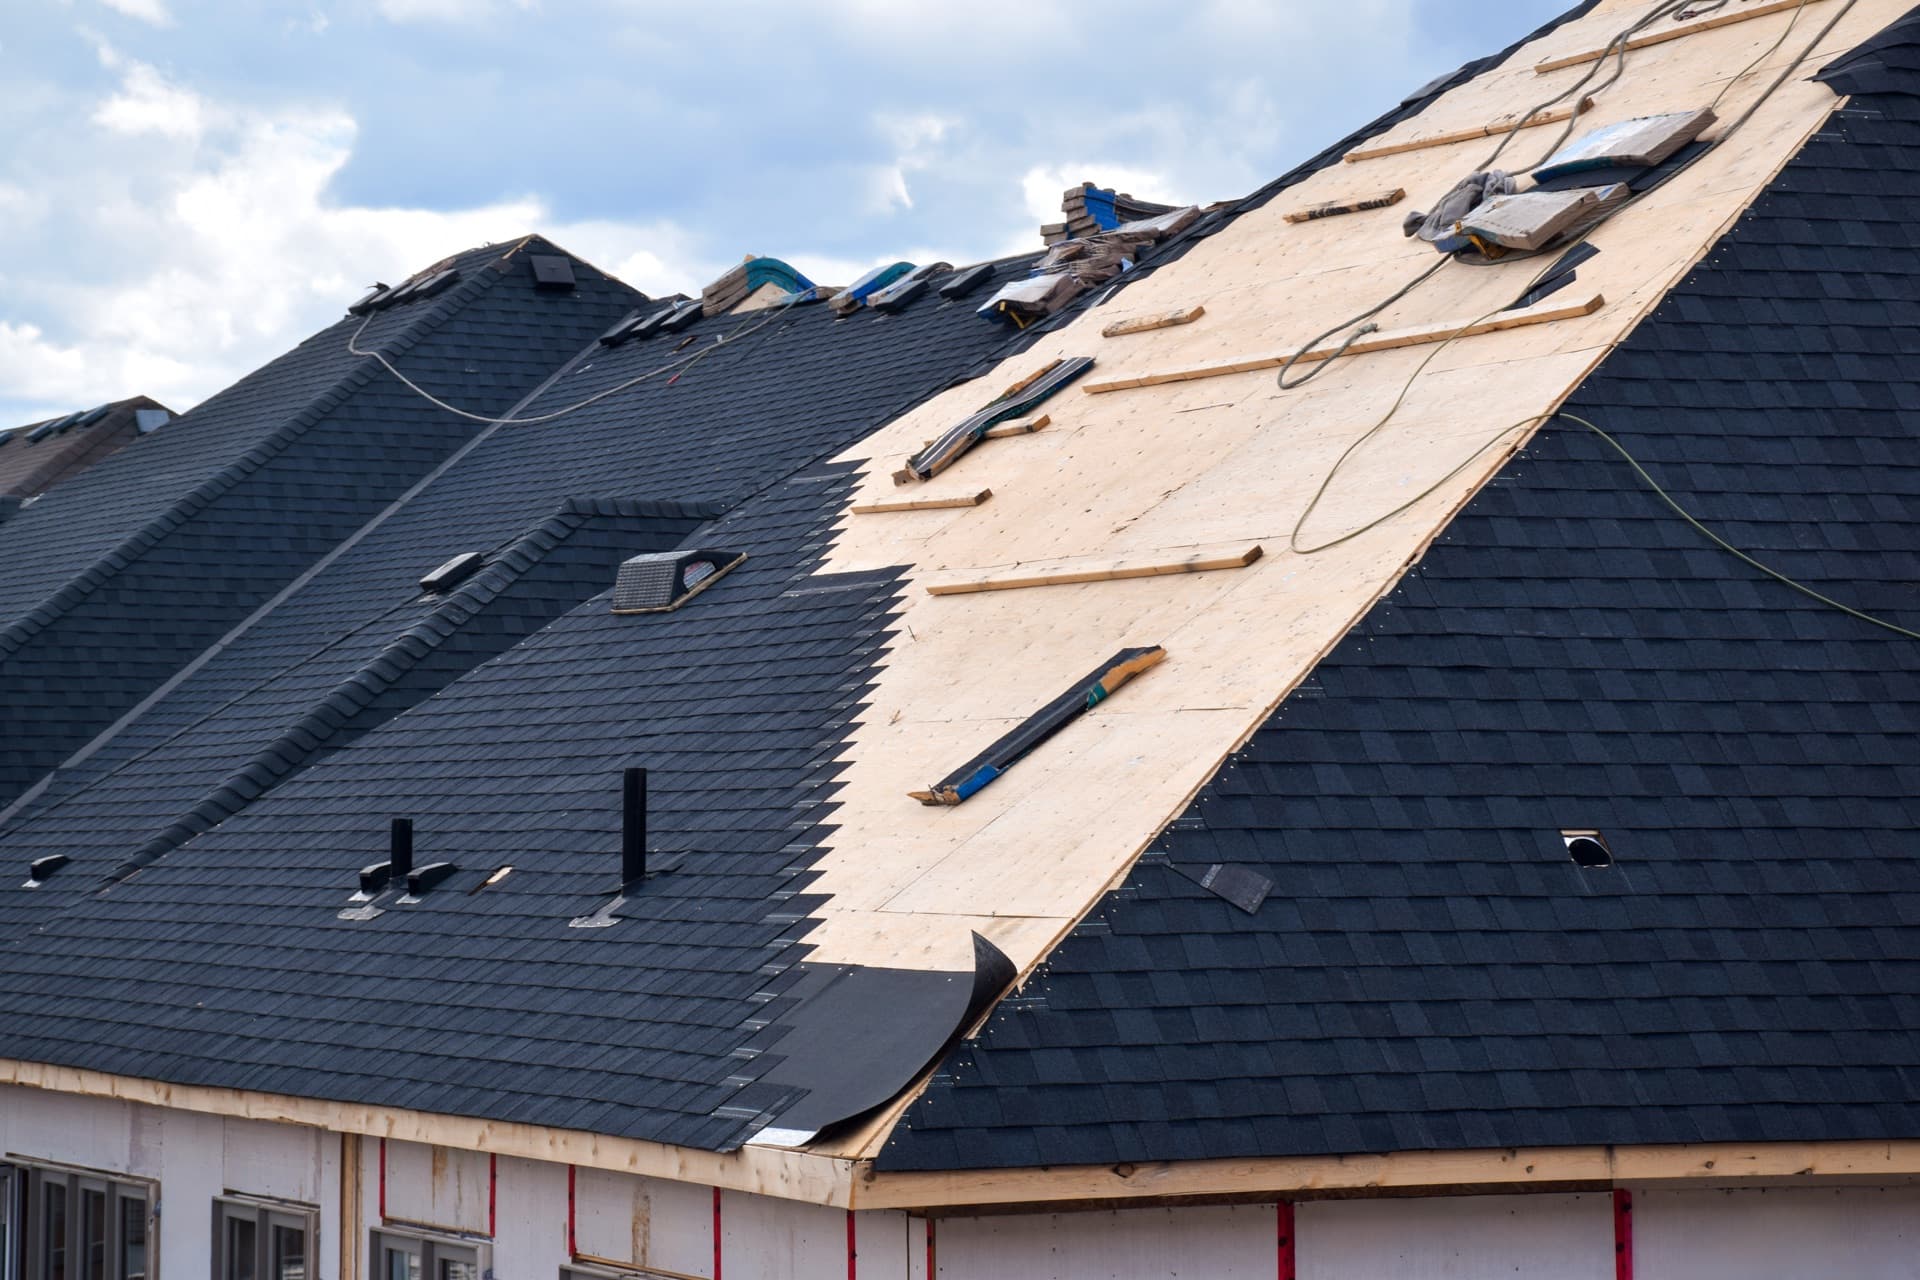
Grab your phone. Take photos from the ground on all four sides of the house. Get close-ups of any visible damage: missing shingles, dented gutters, branches on the roof. If you can safely get into the attic, photograph any water stains or daylight showing through. Timestamp matters, most phones do this automatically, but double-check that your location and date are showing in the metadata. These photos become your proof of what the storm did before any mitigation work started.
#Step 2: Stop the bleeding
Your policy actually requires this. If your roof is actively leaking, you need to mitigate further damage. That means tarping the opening, catching water inside, whatever stops it from getting worse. Keep every receipt, the tarp, the bucket, the emergency roof repair call at 11pm. Insurance reimburses reasonable mitigation costs, but only if you can show what you spent and why.
#Step 3 to 5: Call, get your own inspection, meet the adjuster
Critical move: get a roofer out before the adjuster arrives
Report the damage and get a claim number. Then, before the adjuster shows up, get a roofer out for a professional roof inspection. A good roofer documents damage the way adjusters understand it: photos with annotations, measurements, specific failure types. You want your own documentation so you're not relying entirely on what the carrier's adjuster finds (or misses). When the adjuster comes out, be present. Walk the roof with them if they'll let you. Adjusters are looking at dozens of roofs a week after a storm, things get missed. Your job is to make sure nothing gets overlooked.
#Step 6: Understand your payout, ACV vs RCV
| Policy Type | What It Pays | Holdback? | Best For |
|---|---|---|---|
| RCV (Replacement Cost Value) | Full replacement cost at today's prices | Yes, depreciation held until work complete | Most homeowners |
| ACV (Actual Cash Value) | Replacement cost minus depreciation | No holdback, one check | Older policies |
If your 15-year-old roof costs $18,000 to replace and has $5,000 in depreciation under an RCV policy, you get a check for $13,000 upfront. The remaining $5,000 comes after you finish the job and submit paperwork.
Read every line and make sure the adjuster included all damaged components: underlayment, flashing, drip edge, ridge caps, and any rotted decking. If something gets left off the scope, you'll be paying for it out of pocket later.
#Step 7: File a supplement if you're underpaid
This happens more than it should. The adjuster's scope misses the ice and water shield, skips the chimney flashing, or uses material pricing from 2019. If the payout doesn't cover the actual cost of the work, your roofer can file a supplement, a detailed Xactimate estimate showing line by line what was missed and what it actually costs.
We've recovered thousands in supplemental payouts for homeowners who would have eaten the difference. Our insurance restoration service handles this regularly, and a roof inspection is usually where it starts.
#WA-specific: what to do if your claim is wrongly denied
The WA Office of the Insurance Commissioner has real teeth
Washington state's OIC takes complaints seriously. If your claim gets denied and you believe the denial is wrong, you can file a complaint at insurance.wa.gov. The OIC investigates and can require the carrier to reopen the claim. Carriers in Washington know this, and a formal complaint often gets a second look that a phone call won't.
#Common mistakes that sink claims
Three mistakes we see every storm season
Waiting too long: Most WA policies have a one-year window from the date of damage. After a storm, some homeowners don't notice damage for months. By then, evidence has deteriorated and the clock is running. Not documenting before tarping: You tarp the roof to stop the leak, good. But you didn't take photos first, bad. Always photograph first, tarp second. Signing an Assignment of Benefits to a contractor you don't trust: An AOB lets the contractor negotiate directly with your insurance company. With a reputable roofer, that's fine. With a storm chaser who knocked on your door, it's a recipe for getting locked into a bad deal.
The whole process takes 3 weeks to a few months depending on the carrier. If you've got storm damage and aren't sure where to start, our inspection team can get on your roof within a day or two to start building documentation. Contact us to get started, or read what insurance typically covers on a roof replacement to set expectations before you file.
Written by
Everpeak Roofing
Licensed Seattle roofers, WA Contractor Lic. #EVERPRL743KE. We write from what we actually see on roofs across the Puget Sound.
Related roofing services
Got a roof question of your own?
Free inspections across Seattle and the Puget Sound. We take a look, show you photos, and give you a straight answer. No pressure.